Introduction
In this guide, we’ll walk through the process of configuring Argo CD login using Dex Auth Proxy with Google Cloud Identity-Aware Proxy (IAP).
This is one of the most straightforward approaches I’ve found for setting up ArgoCD authentication on a GKE cluster.
Note: As of the time of writing, the Dex Auth Proxy method is still considered experimental and may undergo changes in future releases.
Why IAP?
Google Cloud’s Identity-Aware Proxy (IAP) provides a simple and secure way to manage access to your applications.
Some of its key benefits include:
1. Central Access Control:
IAP allows you to manage access to your applications and VMs from a single, central location.
2. Identity-based Access:
It ensures that only authenticated principals with the correct IAM permissions can access your resources.
3. Security:
IAP adds an additional layer of security by acting as a reverse proxy, helping protect your applications from potential attacks as traffic hits Google’s global HTTPS load balancer network, and only authenticated requests are routed to internal resources.
4. Integration:
IAP integrates smoothly with several Google Cloud services, including GKE-hosted applications.
IAP’s Limitations
While IAP offers numerous advantages, it’s important to be aware of its limitations:
1. Lack of Group Information:
IAP does not provide group information, which means you can’t assign specific RBAC roles to groups using this method.
If fine-grained group-based access control is a requirement for your setup, you’ll need to explore alternative solutions such as OIDC with Cloud Identity integration.
Prerequisites
Before we dive into the implementation, ensure you have the following:
- A running GKE cluster
gcloudinstalled and configuredkubectlinstalled and configuredhelmpackage manager installed- A domain name to assign the ingress IP address (HTTPS is required for IAP)
- Basic familiarity with Kubernetes and ArgoCD
Steps
- We will configure IAP on the project.
- We will create a
BackendConfigwithIAPenabled. - We will configure
Dexto useIAPheaders for authentication.
We’ll be using the Argo CD Helm chart for the installation.
I would recommend setting a default project for gcloud for the following sections.
You could also append --project YOUR_PROJECT_ID to all gcloud commands.
gcloud config set project PROJECT_ID
1. Enable IAP API
First, we need to enable the IAP API.
gcloud services enable iap.googleapis.com
2. Configure IAP Brand
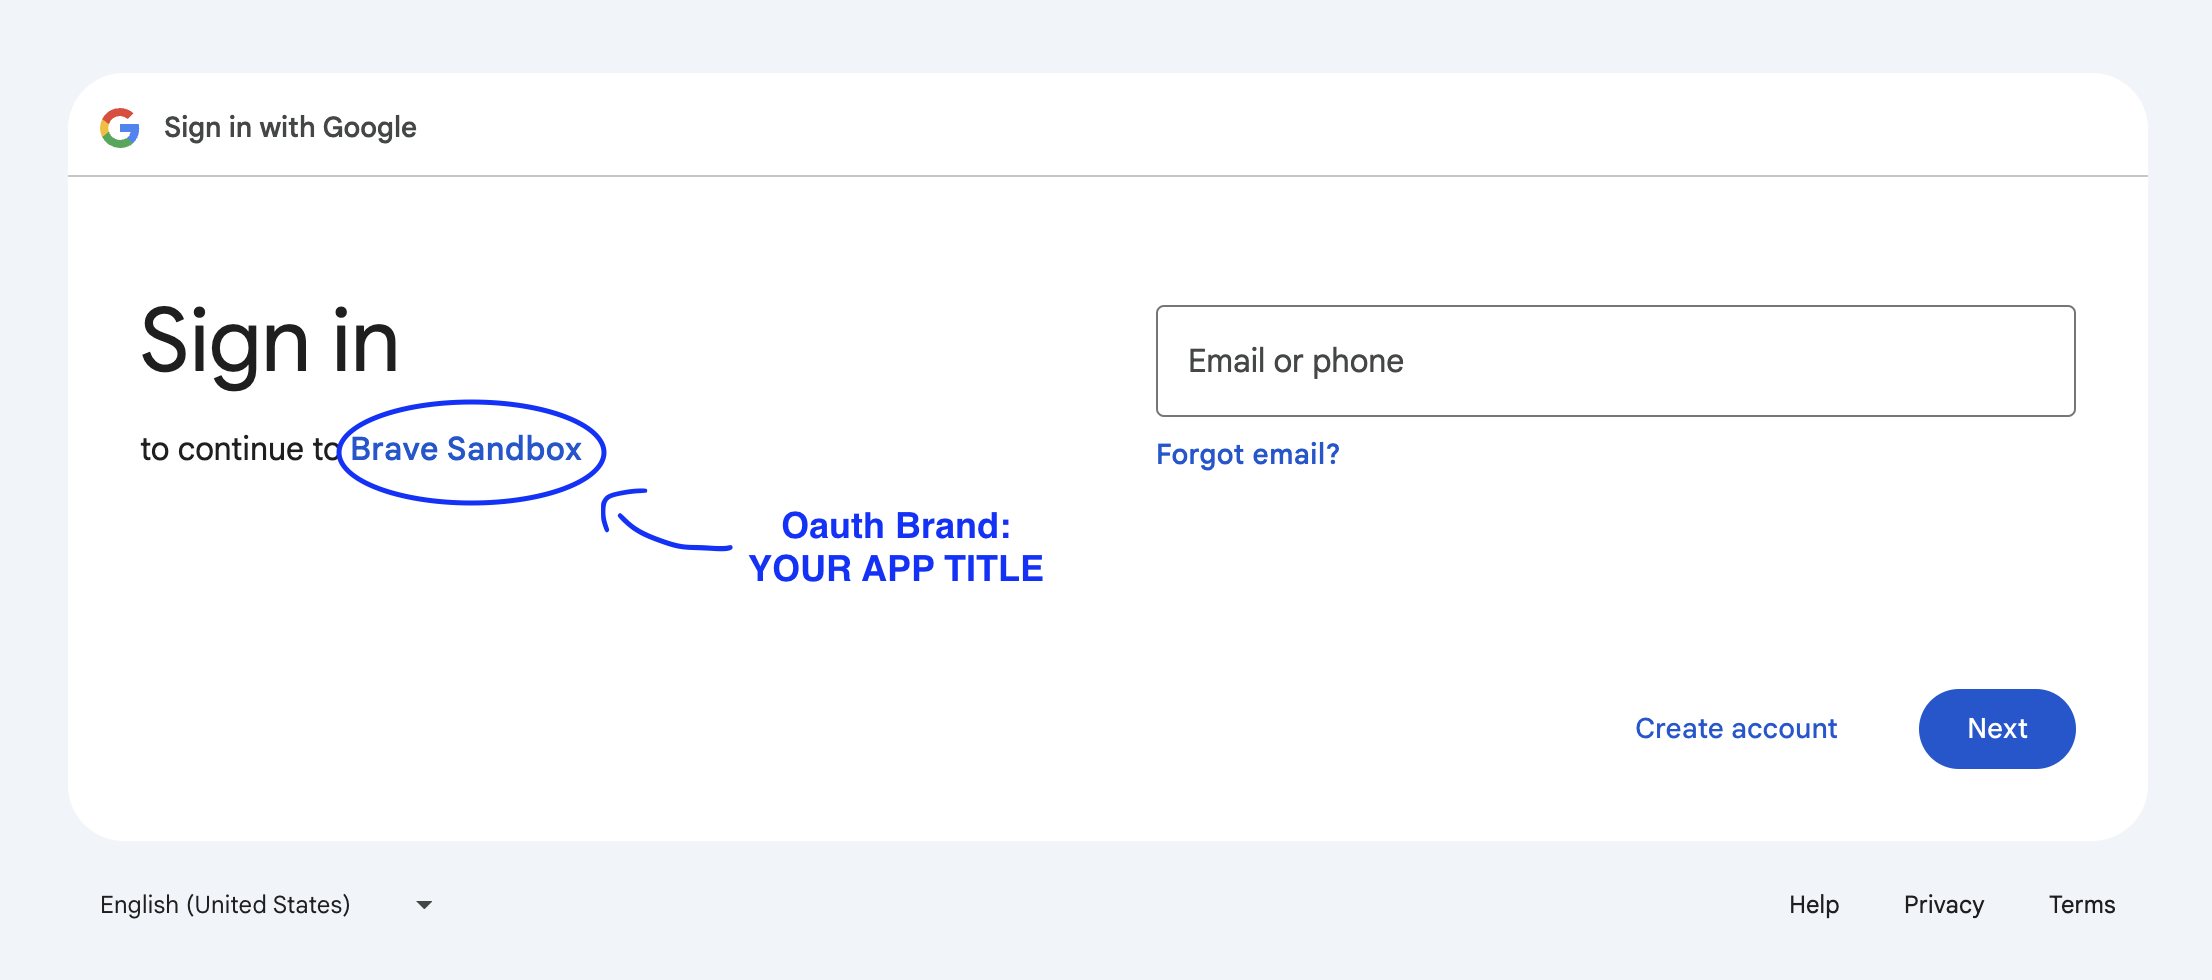
We need to set up an IAP Oauth brand. This is essentially the identity of your application as it appears to users when authenticating.

Create a new Oauth Brand.
gcloud iap oauth-brands create \
          --application_title="YOUR APP TITLE" \
          --support_email="your_email@example.com"
The command will return an output similar to this:
Created [YOUR_PROJECT_NUMBER].
applicationTitle: YOUR APP TITLE
name: projects/YOUR_PROJECT_NUMBER/brands/YOUR_PROJECT_NUMBER
supportEmail: your_email@example.com
Make note of the name as we’ll need it in the next step.
The oauth brand name is just projects/YOUR_PROJECT_NUMBER/brands/YOUR_PROJECT_NUMBER
3. Configure IAP Client
Create an Oauth Client for IAP using the Oauth brand name from the last step:
gcloud iap oauth-clients create YOUR_OAUTH_BRAND_NAME \
          --display_name="IAP"
The command will return an output similar to this:
Created [YOUR_PROJECT_NUMBER-cvi24waz07hz1gfqh8akkw0ff82hdlek.apps.googleusercontent.com].
displayName: IAP
name: projects/YOUR_PROJECT_NUMBER/brands/YOUR_PROJECT_NUMBER/identityAwareProxyClients/YOUR_PROJECT_NUMBER-cvi24waz07hz1gfqh8akkw0ff82hdlek.apps.googleusercontent.com
secret: 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K
Make note of the name and secret, as we’ll need both later.
4. Assing IAP role
Assign your user the IAP-secured Web App User role on the project.
gcloud projects add-iam-policy-binding YOUR_PROJECT_ID \
  --member=user:your_email@example.com \
  --role=roles/iap.httpsResourceAccessor
5. Create a Static IP for the ArgoCD Ingress
Next, we’ll create a static IP for the ArgoCD ingress.
gcloud compute addresses create argocd --global --description "ArgoCD Ingress IP"
Get the created IP address, well need this for our DNS record.
gcloud compute addresses describe argocd --global
The command will return an output similar to this:
address: 34.XXX.XXX.XXX
addressType: EXTERNAL
creationTimestamp: '2024-08-08T01:23:27.457-07:00'
description: ArgoCD Ingress IP
id: 'XXXXXXXXXXXXXXXXXXX'
ipVersion: IPV4
kind: compute#address
labelFingerprint: 42WmSpB8rSM=
name: argocd
networkTier: PREMIUM
selfLink: https://www.googleapis.com/compute/v1/projects/YOUR_PROJECT_ID/global/addresses/argocd
status: RESERVED
Copy the IP address, 34.XXX.XXX.XXX in the example above.
6. Create a DNS record for the ArgoCD Ingress
Create a DNS A record with the IP address, if you are using CloudDNS this would look like:
gcloud dns record-sets create argocd.YOUR_DOMAIN.com \
    --rrdatas=34.XXX.XXX.XXX \
    --ttl=300 \
    --type=A \
    --zone=YOUR_CLOUD_DNS_ZONE_NAME
7. Create a Kubernetes namespace for ArgoCD
kubectl create ns argocd
8. Add the ArgoCD Helm repo
We will need to add the ArgoCD Helm repository to our local Helm installation.
helm repo add argo https://argoproj.github.io/argo-helm
9. Create new values.yaml file for the ArgoCD helm installation
Next, we wil create a new values.yaml file that will be used to configure the ArgoCD Helm installation.
The completed values.yaml will look like this:
# DOMAIN NAME
global:
  domain: argocd.YOUR_DOMAIN.com

# IAP SECRET
extraObjects:
  - apiVersion: v1
    kind: Secret
    metadata:
      name: argocd-iap-secret
      namespace: "argocd"
    type: Opaque
    stringData:
      client_id: YOUR_PROJECT_NUMBER-cvi24waz07hz1gfqh8akkw0ff82hdlek.apps.googleusercontent.com
      client_secret: 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K

server:
  # ARGOCD SERVER INGRESS
  ingress:
    enabled: true
    controller: gke
    annotations:
      kubernetes.io/ingress.global-static-ip-name: argocd
    gke:
      frontendConfig:
        redirectToHttps:
          enabled: true
      managedCertificate:
        create: true
      backendConfig:
        iap:
          enabled: true
          oauthclientCredentials:
            secretName: argocd-iap-secret

  # ARGOCD SERVER SERVICE
  service:
    annotations:
      cloud.google.com/neg: '{"ingress": true}'
      cloud.google.com/backend-config: '{"default": "argocd-server"}'

configs:
  # DISABLE SELF SIGNED TLS CERTS
  params:
    server.insecure: true

  # CONFIGURE IAP LOGIN
  cm:
    url: https://argocd.YOUR_DOMAIN.com
    admin.enabled: false # Disable the default `admin-password` based login
    dex.config: |
      connectors:
        - type: authproxy
          id: iap_proxy
          name: "IAP"
          config:
            userHeader: "X-Goog-Authenticated-User-Email"

  # CONFIGURE RBAC
  rbac:
    policy.default: role:readonly
    scopes: "[groups, email]"
    policy.csv: |
      g, accounts.google.com:your_email@example.com, role:admin
Let’s go through each section of the values.yaml file and explain what it does:
A. Global Domain name:
# DOMAIN NAME
global:
  domain: argocd.YOUR_DOMAIN.com
This section sets the domain name for all resources that require it, including the ArgoCD server.
Replace YOUR_DOMAIN with your actual domain name.
B. IAP Secret:
# IAP SECRET
extraObjects:
  - apiVersion: v1
    kind: Secret
    metadata:
      name: argocd-iap-secret
      namespace: "argocd"
    type: Opaque
    stringData:
      client_id: YOUR_PROJECT_NUMBER-cvi24waz07hz1gfqh8akkw0ff82hdlek.apps.googleusercontent.com
      client_secret: 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K
This secret will be used to create the BackendConfig, which is used to enable IAP authentication.
You’ll need to replace the client_secret and client_id values with the ones you obtained in Step 3.
client_secret:
This will be secret from Step 3 (Configure IAP Client)
client_id:
This will be name from Step 3 (Configure IAP Client).
Remove the projects/YOUR_PROJECT_NUMBER/brands/YOUR_PROJECT_NUMBER/identityAwareProxyClients/ prefix, we only need the part after the last /.
C. ArgoCD Server Ingress:
server:
  # ARGOCD SERVER INGRESS
  ingress:
    enabled: true
    controller: gke
    annotations:
      kubernetes.io/ingress.global-static-ip-name: argocd
    gke:
      frontendConfig:
        redirectToHttps:
          enabled: true
      managedCertificate:
        create: true
      backendConfig:
        iap:
          enabled: true
          oauthclientCredentials:
            secretName: argocd-iap-secret
Here, we’re creating an ingress using the GKE ingress template within the ArgoCD Helm chart.
We’re assigning the IP address we created earlier using the kubernetes.io/ingress.global-static-ip-name annotation.
We’ll also add a frontendConfig to redirect all HTTP traffic to HTTPS, a managedCertificate to create a Google Managed TLS certificate, and a backendConfig to enable IAP.
C. ArgoCD Server Service:
server:
  # ARGOCD SERVER SERVICE
  service:
    annotations:
      cloud.google.com/neg: '{"ingress": true}'
      cloud.google.com/backend-config: '{"default": "argocd-server"}'
In this section, we’re enabling Container-native load balancing with Network Endpoint Groups (NEGs) and attaching the BackendConfig from the previous step to the service.
This so we can leverage Google Cloud network routing features including Backend Configs (IAP) instead of relying on native Kubernetes.
D. Disable ArgoCD Self-signed TLS Certificates:
configs:
  # DISABLE SELF SIGNED TLS CERTS
  params:
    server.insecure: true
Here, we’re disabling the creation of ArgoCD self-signed certificates, as we’ll be using Google Managed Certificates instead.
This means that HTTPS traffic will be terminated at the load balancer, and traffic within the cluster will be in HTTP.
Consider Istio or Anthos service mesh if you need mutual TLS (TLS encryption of communication within the cluster)
E. Configure Dex AuthProxy Login to use IAP Headers:
configs:
  # CONFIGURE IAP LOGIN
  cm:
    url: https://argocd.YOUR_DOMAIN.com
    admin.enabled: false # Disable the default `admin-password` based login
    dex.config: |
      connectors:
        - type: authproxy
          id: iap_proxy
          name: "IAP"
          config:
            userHeader: "X-Goog-Authenticated-User-Email"
This section configures Dex to use the User Header injected by IAP for authentication, and disables the default admin-password-based login.
Change the URL to your actual URL.
F. Configure Default RBAC:
configs:
  # CONFIGURE RBAC
  rbac:
    policy.default: role:readonly
    scopes: "[groups, email]"
    policy.csv: |
      g, accounts.google.com:your_email@example.com, role:admin
Finally, we configure the default role to be read-only and assign the admin role to our user.
You can add more users within the policy.csv file.
Note: We have to prepend accounts.google.com: to the email, this is the major difference between this and the OIDC method.
10. Install the ArgoCD Helm chart
Now that we’ve created the values.yaml file, we can install the ArgoCD Helm chart.
First, let’s update our local Helm repository:
helm repo update
You can generate the Kubernetes manifests to inspect the output before installing:
helm template argocd argo/argo-cd --namespace argocd --values values.yaml --output-dir argocd-manifests
Then, install the chart:
helm install argocd argo/argo-cd --namespace argocd --values values.yaml
It usually takes 15 to 30 minutes for the Google Managed Certificate to be provisioned, you can track the progress on the ingress page.
11. Login via IAP

Finally, open the ArgoCD URL. If you’re not logged in automatically, click on the LOGIN VIA IAP button to authenticate.
Conclusion
In this guide, we covered the steps to set up ArgoCD with Google Cloud Identity-Aware Proxy (IAP) login.
Feel free to leave any comments, questions, or suggestions in the section below. I’m happy to clarify any part of the process or provide additional guidance as needed.
